|
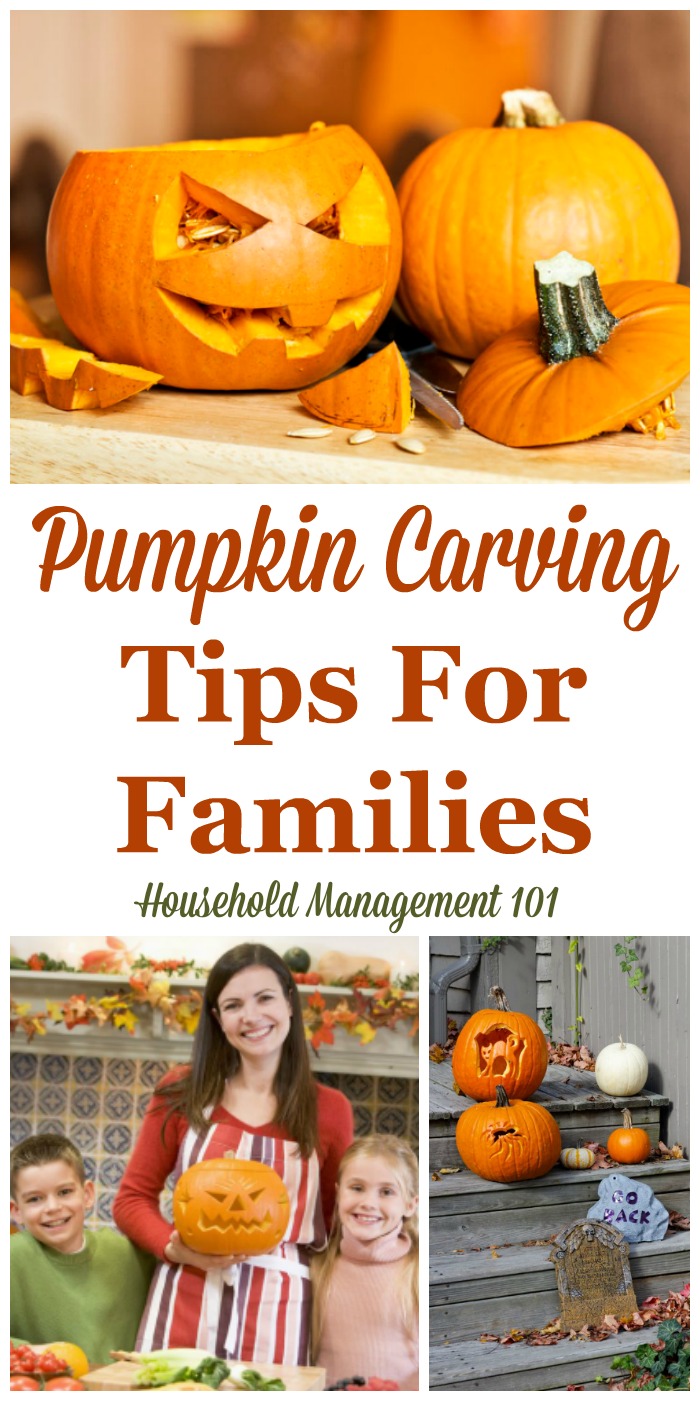
Pumpkin Carving Tips For A Safe And Fun Time With Your FamilyHere are some pumpkin carving tips regarding safety, design, and also making your pumpkin last, so you can have a safe and fun time with this traditional Halloween activity.  Carving pumpkins with your family can be a great Halloween tradition. However, this activity can be dangerous, if not done correctly because of the sharp instruments used. In addition, you don't want to go to a bunch of trouble to end up with a pumpkin that doesn't even look that cute, or scary, or whatever look your going for. That's why I have compiled these tips so we can all look like experts, at least in front of our kids, for pumpkin carving. Pumpkin Carving Tips - Safety FirstYoung children always like to be involved in the process of carving the pumpkins, and I encourage you to let them assist with as many parts of the activity as they can. However, young children should not hold or use the knives or other sharp implements necessary to cut through the tough pumpkin skin. It is just way too easy for them to cut themselves, and that won't make for any fond Halloween memories. You can be the judge of how old your kids need to be to handle the knife, but I will say that one of the biggest companies selling pumpkin carving kits, Pumpkin Masters, suggest being at least 12 years old for this part of the activity. Additional safety tips for everyone, including adults, include:
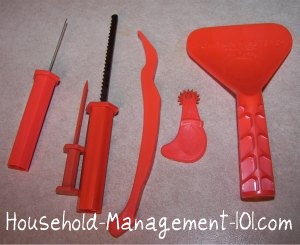
Gather Your Tools And Equipment One of the best pumpkin carving tips I know is to gather all of your equipment and supplies up ahead of time, before you begin to carve. Then, when you are in the middle you won't have to stop and go hunting for something you need. You will need, at a minimum, the following pumpkin carving tools and equipment. much of which you can get in a basic pumpkin carving kit, as pictured to the left:
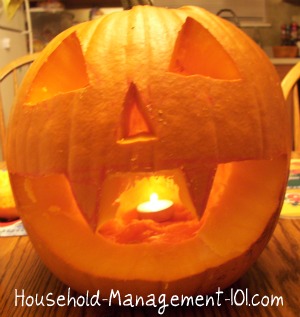
Pumpkin Carving Tips - How To Take Off Your Pumpkin's HeadWhen taking off your pumpkin's "head" place your pumpkin saw in at an angle, not straight up and down, so the top will come off easily, and not fall straight down through the pumpkin when you put it's top back on. One of the most helpful pumpkin carving tips I have learned is to cut a notch in the lid of your pumpkin, as you cut it out, kind of like part of a puzzle piece that sticks out. That way you have an obvious guide for placing the lid back on and don't have to rotate it around and around until you find the exact fit each time. Finally, make your opening large enough to easily scrape out the seeds, and get your hands in there. However, not so large that you interfere with the intended design of your pumpkin. How To Gut Your Pumpkin - Not So Obvious Pumpkin Carving TipsI don't know about you, but the part of carving pumpkins I dread is scooping out the seeds and stringy pulp inside. It seems like it takes forever, and is quite messy. However, once I learned these not so obvious, at least to me, pumpkin carving tips, this task became much easier and faster. First, if you plan to roast pumpkin seeds get out a collander to place the seeds in, as you gut. Once you've gotten out enough seeds, now is the time to really just gut the pumpkin. I used to take it out, one scoop at a time, working from the bottom, and it seemed to take forever. This is a much better way -- scrape down the sides of the pumpkin, from top to bottom, and going around the entire inside of the circle one vertical line at a time. Just push everything into the bottom center of the pumpkin as you go. Then, once you've gotten all the sides scraped just turn over the pumpkin and let everything fall into the trash bag. Scrape off anything left on the bottom, or areas you missed on the sides, and you're done. Easy as pumpkin pie! An additional pumpkin carving tip regarding scraping out the seeds is to make sure not to scrape too hard on the insides, and take out too much of the wall of the pumpkin. If you're not careful the sides will become too thin and weak, and your pumpkin wall may collapse with the pressure of carving or when parts of the pumpkin wall are removed. Ideally, for big pumpkins, you want about 1 inch of wall left around the sides of the pumpkin you are carving. You can check the thickness with a nail or pin if needed. Making A Face For Your Jack-O-Lantern If you want to make an intricate pumpkin carving, where you scrape flesh from the pumpkin without actually cutting all the way through the skin, follow my tips on the pumpkin carving stencils page. However, if you want to do the more traditional cutting and carving then these pumpkin carving tips below will be of help. First, if you are making your own pattern use a dry erase marker, like I mentioned above. That way you can change things without having big black permanent marker marks on your pumpkin. Use your pumpkin saw to cut out the pieces. To make curved lines, just keep turning the saw at an angle as you cut. To make sharp corners or angles it is easier to make one straight line, take out the saw and push it in again at the end of the line you want to intersect, and meet the two lines at the angle. This makes the corner sharper and cleaner. Then, just gently push the piece out from the inside of the pumpkin. The smaller pieces should just pop out. For really large pieces of pumpkin, like the mouth, it won't pop out as easily. Just cut it into sections and pop each one out individually. Be careful while using your pumpkin saw not to put undo pressure onto the walls of the pumpkin, because it can break easily. Lighting Your Pumpkin With Candles The most fun part of carving your pumpkins is lighting them and seeing them at night. Here are some pumpkin carving tips for lighting your pumpkins. Use a tea candle inside your pumpkin, and anchor it at the bottom back of your pumpkin. Make sure the wick is standing up, because it is easier to light that way. Then, instead of lighting it from the top and burning your hand in the process, if you can, light it through the mouth. Use either long matches or a long fire starter lighter for this job so you don't burn your fingers. Watch where a small soot marks develop on the lid of your pumpkin and cut a hole there to let out smoke and heat. If you place your pumpkins outside and the wind keeps blowing the candles out try placing the candle in an old tuna can, which will block some of the wind. If your candle just seems to put out a pitiful amount of light or keeps snuffing out despite a windless night you may not have enough oxygen going to your candle. You can cut vent holes in the back of the pumpkin, at the top and bottom, to help with this. How To Make Your Pumpkin Last Longer Once Carved - The Ultimate Pumpkin Carving TipsOnce your pumpkin is carved it just won't last that long. That is a fact of life. That's why I suggest carving your pumpkin just a few days before Halloween if you want to use it Halloween night. However, to make it last a little longer you can do some or all of these 5 tips for preserving carved pumpkins, which include some steps to take in preparing your pumpkin before you even start carving.  Here are some additional tips:
 First photo by terren in Virginia and fourth photo by wildcat_dunny Related Pages You May EnjoyHolidays And Celebrations With Your Family Homemade Halloween Costumes: Ideas And Pictures Top 10 Family Halloween Movies Go From Pumpkin Carving Tips To Home Page |
Let's Stay Connected!Visit My Other WebsitesStain-Removal-101.com
Home-Storage-Solutions-101.com
|
|

|
||
|
Return To Top | Home Page | Blog | Newsletter | Contact Me | About Me | Sitemap | Privacy Policy | Disclaimer | Disclosure | ||
|
Copyright © 2008 - 2025 - Flanery Companies, LLC - All Rights Reserved
| ||


Share Your Comments, Thoughts & Ideas